How to Master Balling Pizza Dough Like a Pro
Ever wonder how pizzerias achieve that perfectly round, airy crust? The secret lies in mastering the art of balling pizza dough. This technique isn’t just for professionals; with a little practice, you can achieve pizzeria-quality results at home. Balling pizza dough is crucial for even rising and cooking.
There’s nothing quite like the sweet, tart burst of a cherry pie — and now you can enjoy it in adorable bite-size form without spending hours in the kitchen. With this sweet store-bought shortcut to making bite-size cherry pies, you can whip up a batch of irresistible mini desserts in minutes. Perfect for parties, picnics, or a quick treat, this easy hack delivers all the flavor of homemade cherry pie with a fraction of the effort.
Ingredients List
- 500g strong bread flour (or all-purpose flour, though the result will be slightly less chewy)
- 320ml lukewarm water
- 2 tsp active dry yeast
- 1 tsp salt
- 2 tbsp olive oil (for flavor and dough elasticity)
Timing
Preparation: 20 minutes
Resting/Rising: 60-90 minutes (depending on room temperature)
Balling: 10 minutes
Total: 90-110 minutes, which is about the average time for this process.
Step-by-Step Instructions

Step 1: Activate the Yeast
In a large bowl, combine the lukewarm water and yeast. Let it sit for 5-10 minutes until foamy. This indicates the yeast is active and ready to work its magic.
Step 2: Combine Dry Ingredients
In a separate bowl, whisk together the flour and salt. This ensures even distribution and prevents pockets of salt in your dough.
Step 3: Mix Wet and Dry Ingredients
Gradually add the dry ingredients to the yeast mixture, mixing with a wooden spoon or your hands until a shaggy dough forms. Add the olive oil and continue kneading.
Step 4: Knead the Dough
Turn the dough out onto a lightly floured surface and knead for 8-10 minutes until smooth and elastic. stretch pizza dough during kneading to develop gluten.
Step 5: First Rise
Place the dough in a lightly oiled bowl, turning to coat. Cover the bowl with plastic wrap and let it rise in a warm place for 60-90 minutes, or until doubled in size.
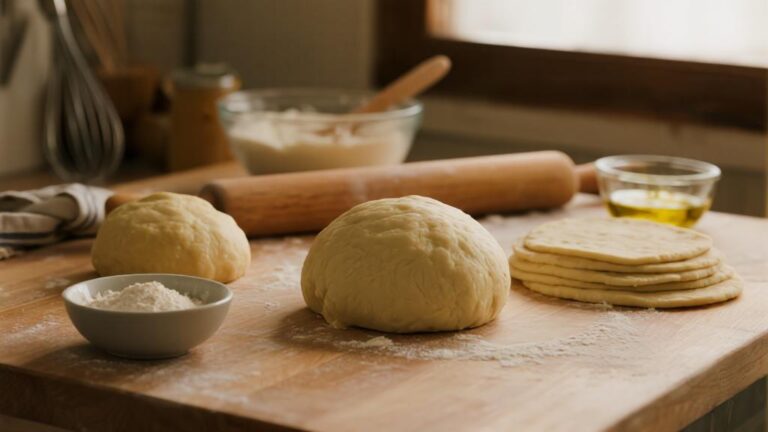
Step 6: Balling pizza dough
Punch down the risen dough to release air. Divide the dough into equal pieces (usually 4-6 for medium pizzas). Gently shape each piece into a smooth ball by tucking the edges underneath and pinching them together.
Step 7: Second Rise (Proofing)
Place the dough balls on a lightly floured tray, cover, and let them rest for another 30 minutes before shaping and baking your pizzas.
Nutritional Information
Per serving (assuming 4 dough balls): Calories: approximately 300-350, Protein: 10-12g, Carbs: 55-60g, Fat: 5-7g. These values can change depending on the specific type of flour used.
Healthier Alternatives for the Recipe
For a healthier crust, substitute whole wheat flour for half of the all-purpose flour. You can also add seeds like flax or chia for added fiber and nutrients. Using olive oil adds healthy fats.
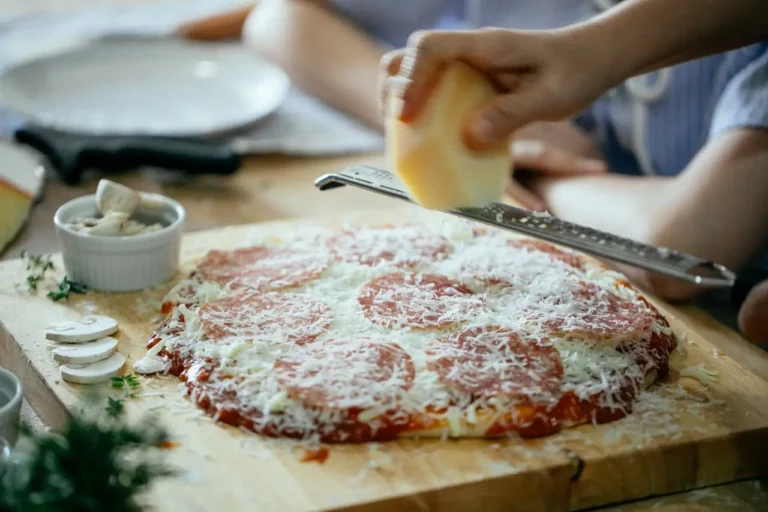
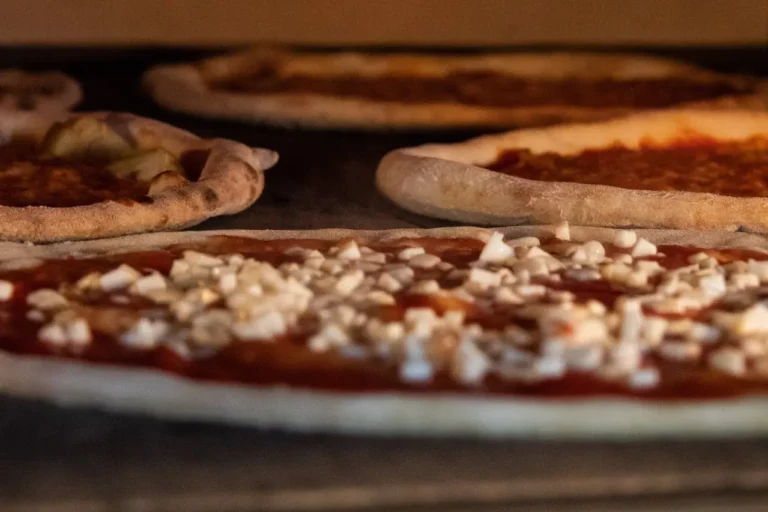
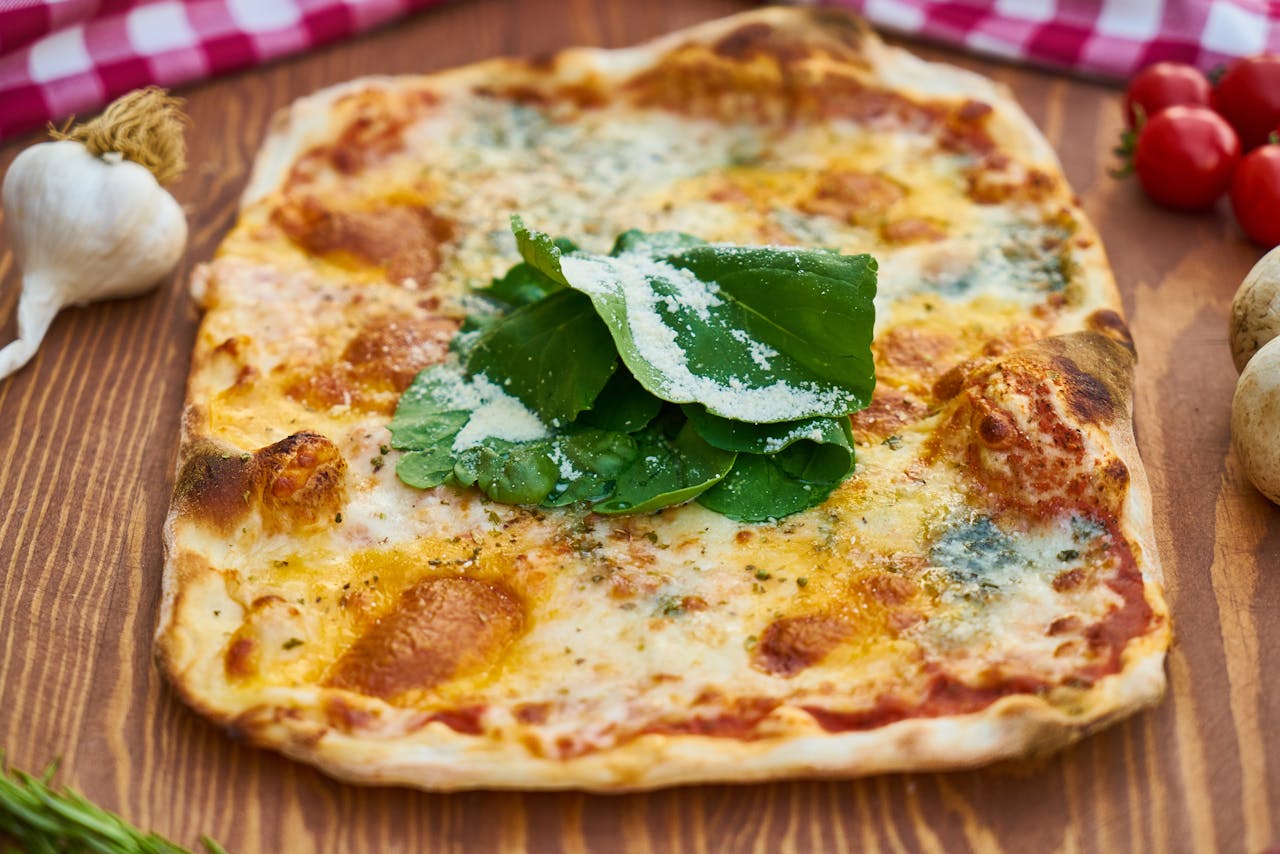
Serving Suggestions
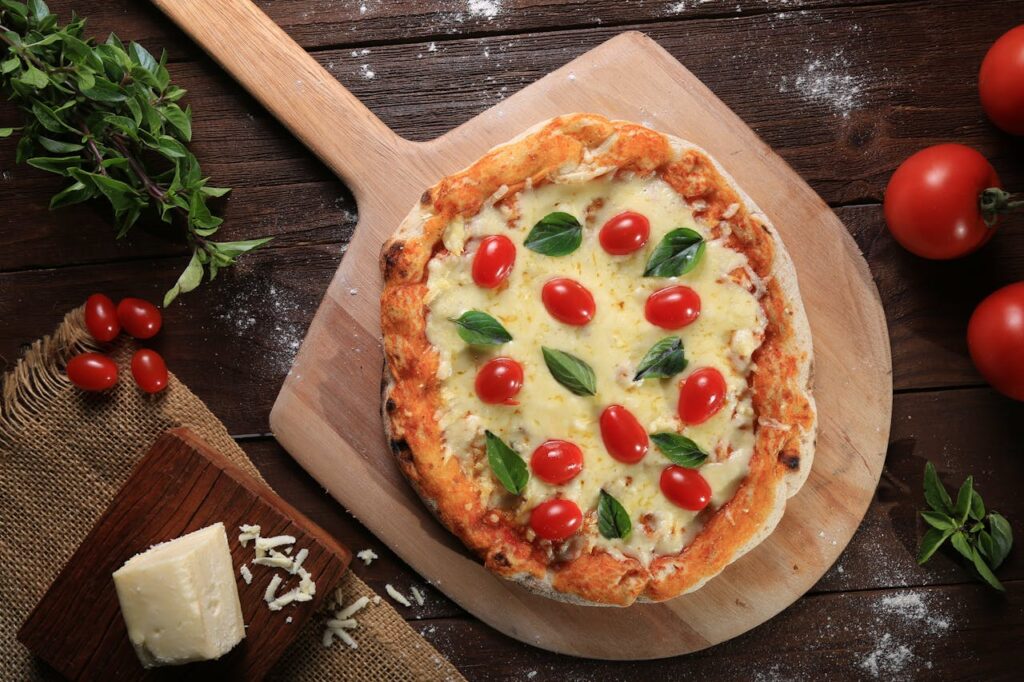
These dough balls are perfect for classic Margherita pizzas, pepperoni feasts, or gourmet veggie creations. Get creative with your toppings and impress your guests with a homemade pizza night!
Common Mistakes to Avoid
- Using water that’s too hot or too cold: Lukewarm water is crucial for activating the yeast.
- Overkneading or underkneading: Proper kneading develops gluten, which gives the dough its structure.
- Not allowing enough time for rising: Patience is key to a light and airy crust.
Storing Tips for the Recipe
Store leftover dough balls in an airtight container in the refrigerator for up to 3 days. You can also freeze them for up to 3 months. Thaw overnight in the refrigerator before using.
Conclusion
Mastering balling pizza dough elevates your pizza game. With practice, you’ll create perfect crusts every time.
Now that you know the secrets, try this recipe and share your pizza creations! Leave a comment below with your feedback and any questions.
There are no reviews yet. Be the first one to write one.