The Best Dough-Making Tips: Ultimate Guide
But what if I told you the difference between a dense brick and an airy, perfect loaf isn’t magic—it’s just a few simple, professional dough-making tips? Many experienced bakers have honed their craft not through innate talent but by understanding the specific science behind the ingredients and processes. This guide is for the beginner who wants to bypass the frustration and start baking with confidence. Forget the fear; let’s unlock the secrets of fantastic dough and transform your baking results immediately. You’ll find that baking is not just following a recipe; it’s about understanding the dough itself.
What if your fluffiest, crispiest loaf doesn’t come from kneading harder, but from doing less at the right moments?
Today, we’ll craft a simple all-purpose dough while learning pro techniques that boost rise, texture, and flavor.
Use these bread dough-making tips and master dough-making tips that bakers rely on, from hydration math to temperature control.
Ingredients List
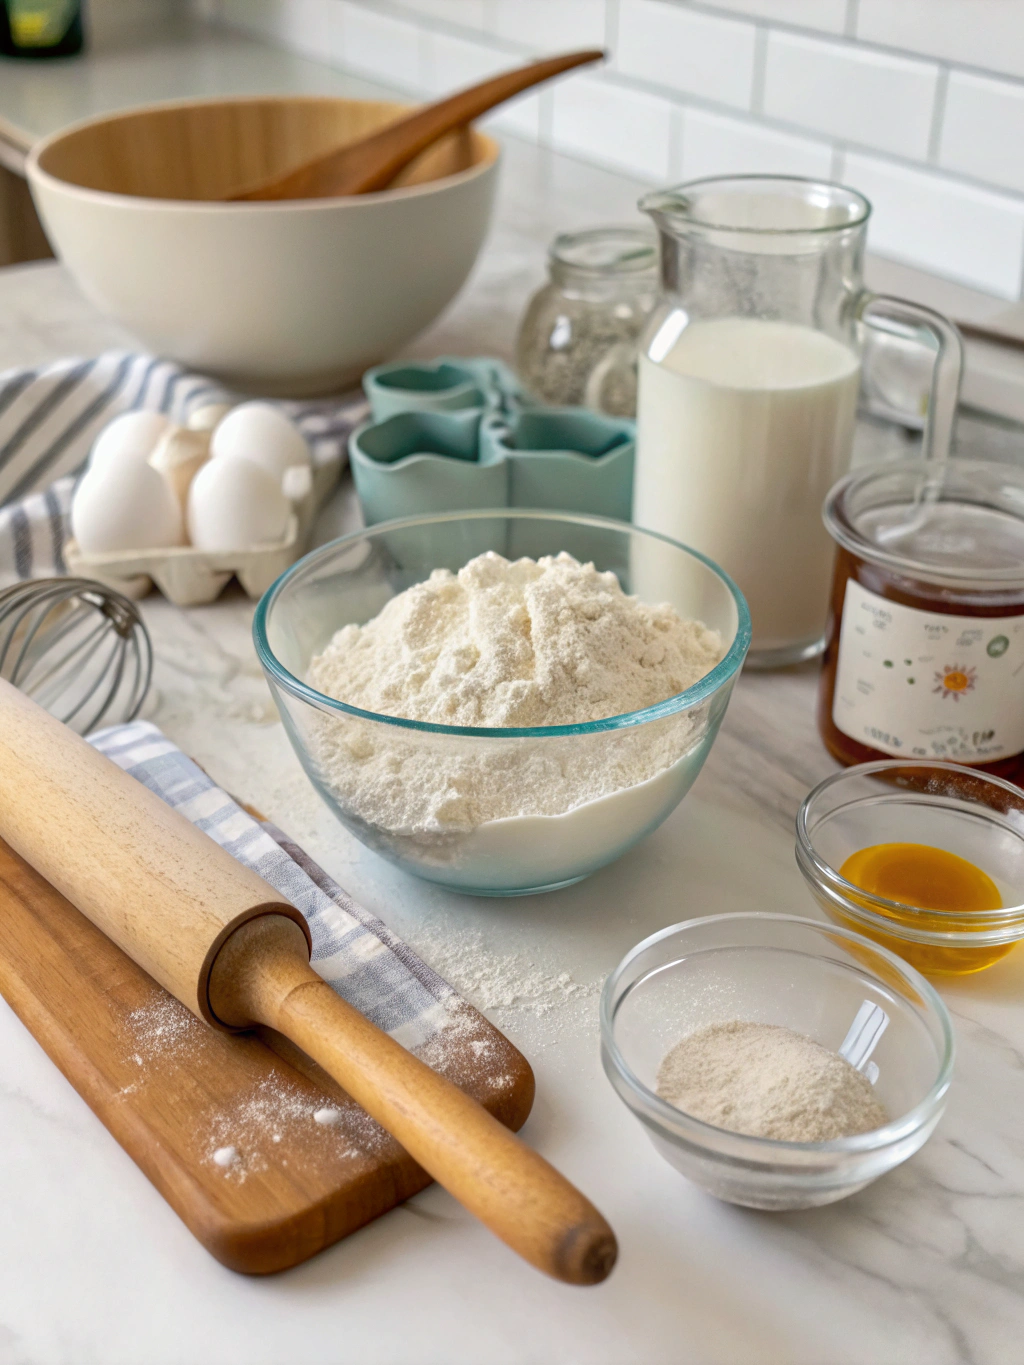
This base dough works for a small boule, dinner rolls, or pizza. It’s lean, balanced, and beginner-friendly.
- 375 g bread flour (or 3 cups), plus extra for dusting
- 260 g warm water (69% hydration), about 75°F/24°C
- 8 g fine sea salt (1 1/2 tsp)
- 2 g instant yeast (1/2 tsp) or 3 g active dry yeast
- 10 g olive oil (2 tsp), optional for softness and sheen
- 10 g sugar or honey (2 tsp), optional for faster browning
Substitutions:
- Use up to 30% whole-wheat flour for a nuttier flavor; add 10–15 g of water to compensate.
- Swap instant yeast for active dry: bloom in part of the warm water for 5–10 minutes.
- Gluten-free? Use a quality gluten-free bread blend and add 1 tsp psyllium husk.
- No oil? Omit it for a crisper crust and classic lean crumb.
Expect a dough that feels supple, slightly tacky, and responsive under your palm.
Timing
Prep time: 25 minutes active (mixing, folding, shaping).
Rise time: 2 to 2 1/2 hours total (bulk plus proof).
Bake time: 30–35 minutes at 450°F/232°C (covered Dutch oven or with steam).
Total time: 3 to 3 1/4 hours, about 20% faster than many beginner loaves that run 4 hours.
Refrigerated option: 12–24 hour cold proof for deeper flavor without extra effort.
Step-by-Step Instructions
Step 1: Weigh and warm your ingredients
Measure by grams for consistency. Warm the water to about 75°F/24°C. Cooler dough ferments slowly; hot water risks killing yeast.
Accurate scales are silent. Dough-making tips—they remove guesswork and improve repeatability.
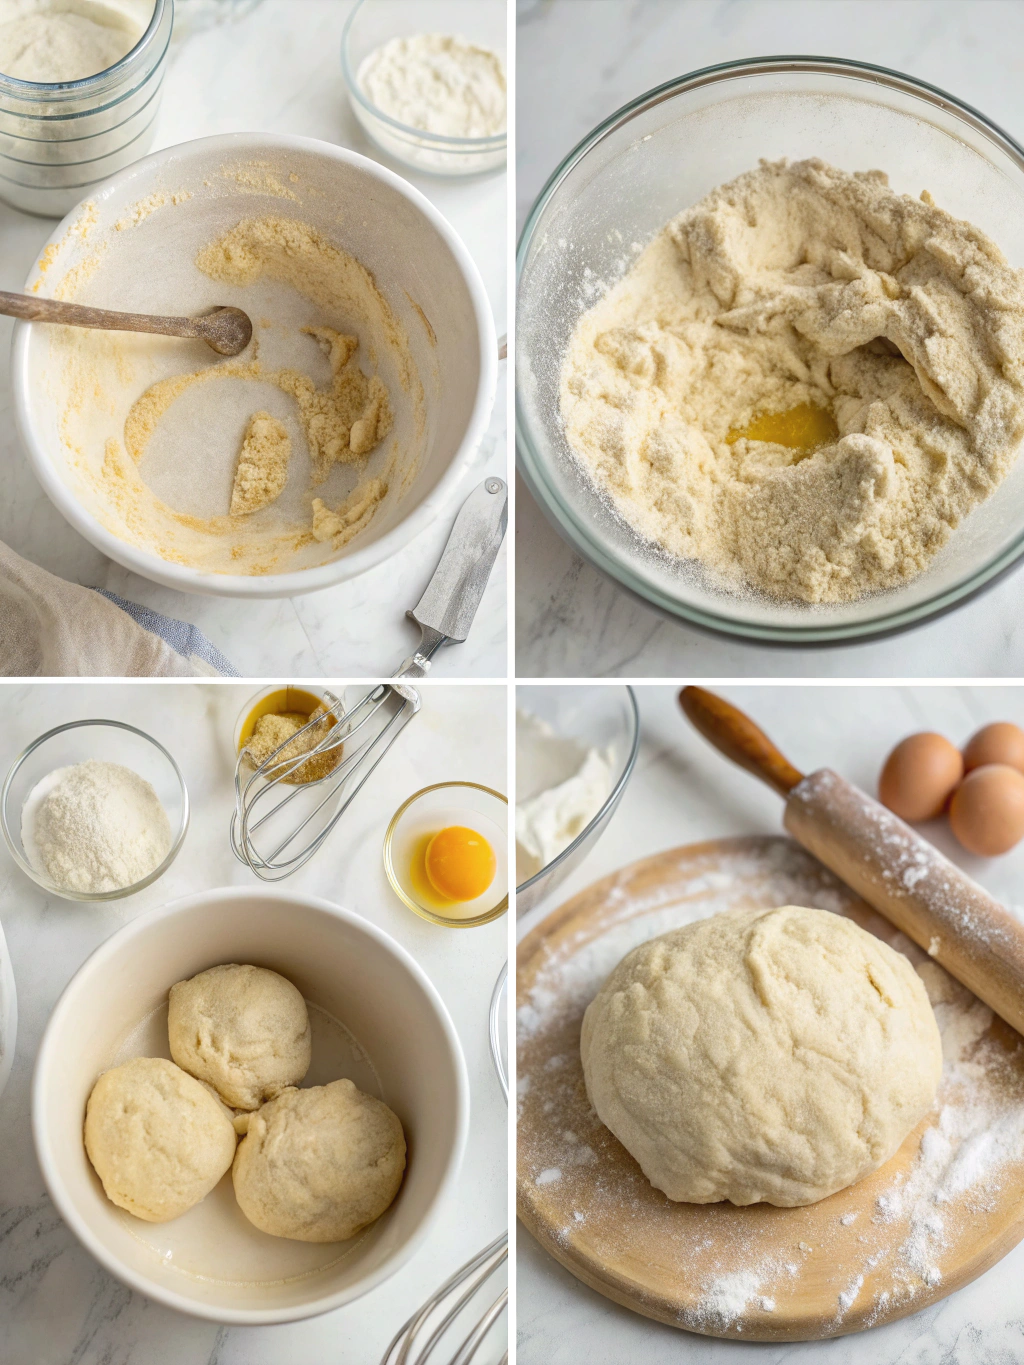
Step 2: Autolyse for gluten head start
In a bowl, mix flour and water only until no dry spots remain. Rest 20–30 minutes.
This hydrates starches and jumpstarts gluten formation, so you knead less and get a silkier dough.
Step 3: Add yeast, salt, and optional enrichments
Sprinkle yeast and salt over the autolysed dough. Add oil and sugar if using.
Pinch and fold until combined. Avoid direct contact of dry salt with yeast for long periods—salt is dehydrating.
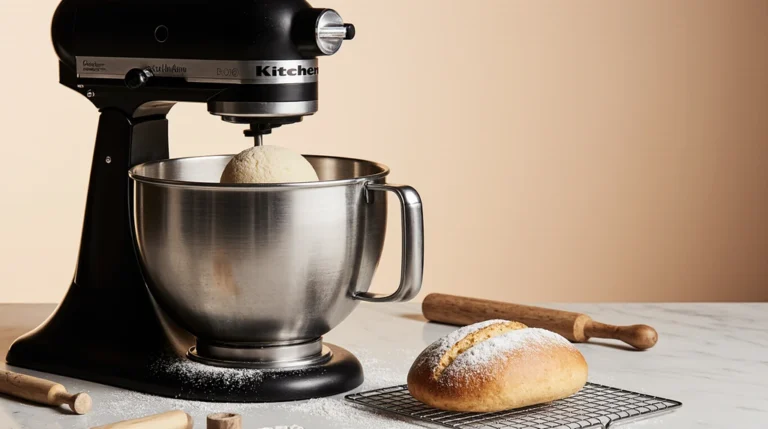
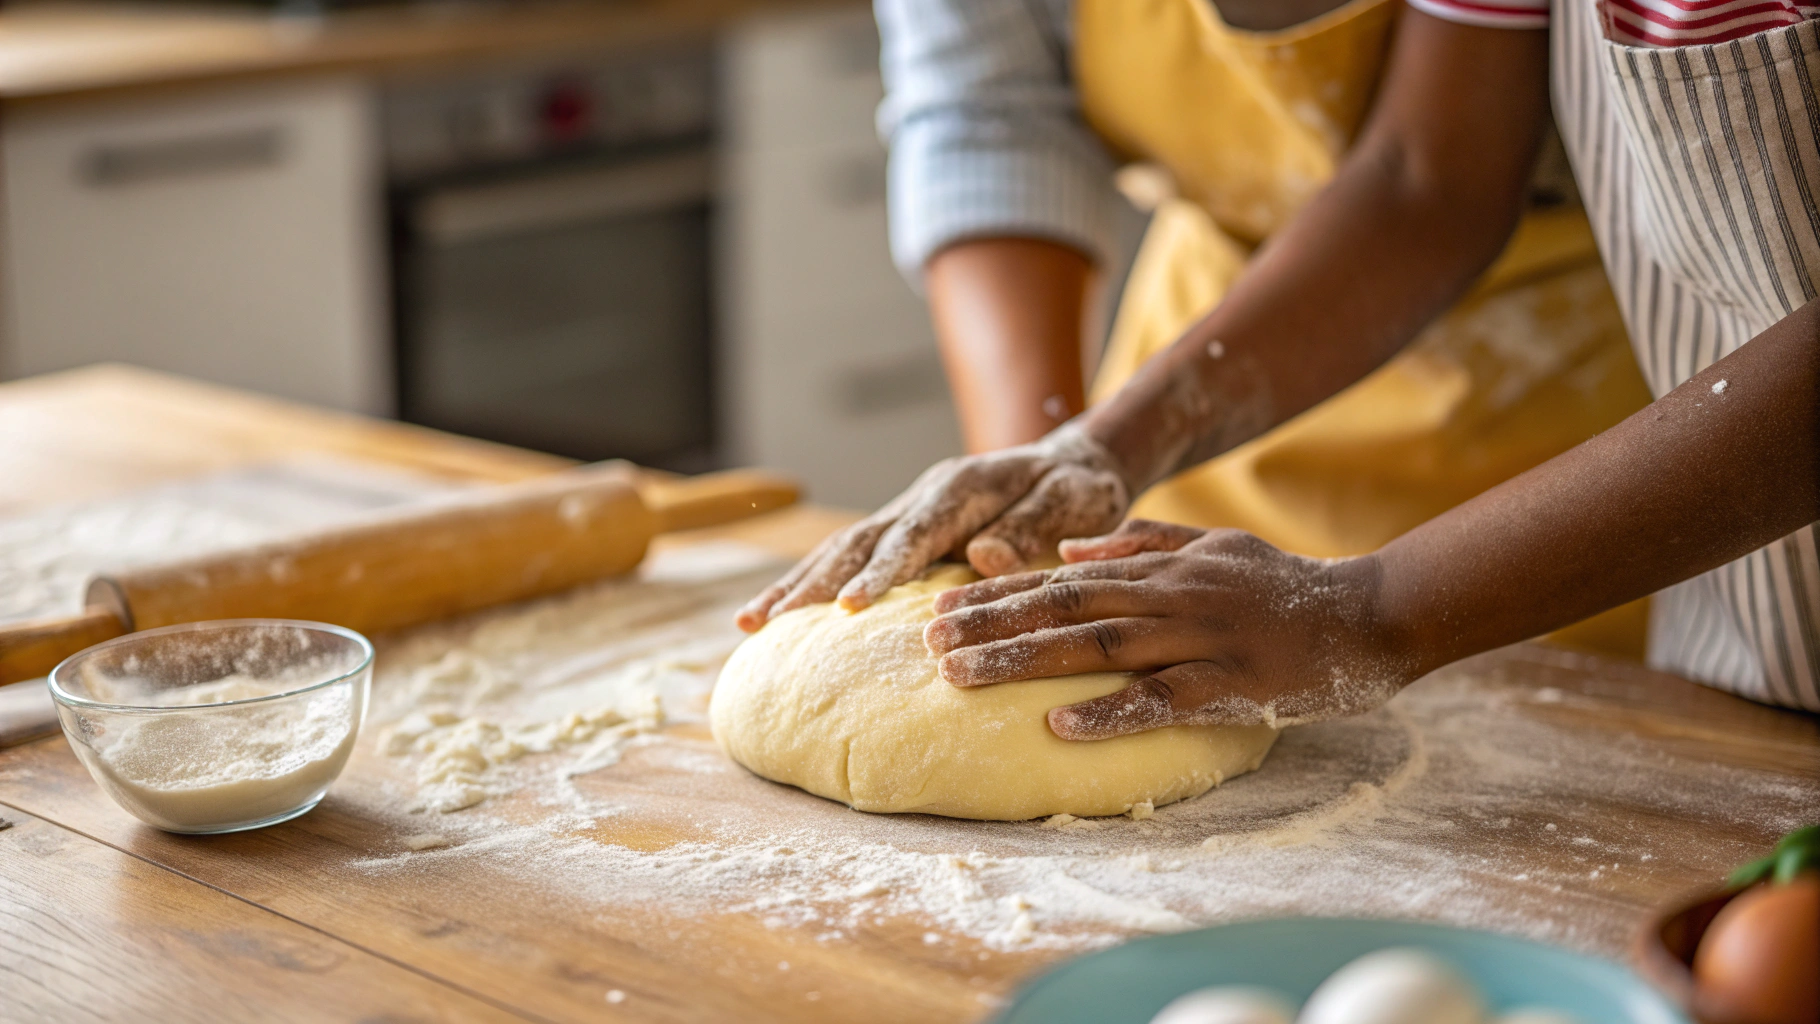
Step 4: Gentle knead or slap-and-fold
Knead 5–8 minutes until the dough feels elastic and slightly tacky, not sticky.
Use wet hands instead of extra flour. Extra flour tightens crumbs and dulls oven spring.
Step 5: Windowpane and dough temperature check
Pull a small piece thin; if light passes through without tearing, gluten is ready.
Check dough temperature. Aim for 75–78°F (24–26°C) for predictable fermentation.
Step 6: Bulk ferment with rhythmic folds
Place dough in a lightly oiled bowl. Cover. Rest 60–90 minutes at room temp.
Every 20–30 minutes, perform a set of stretch-and-folds. This replaces hard kneading and builds structure.
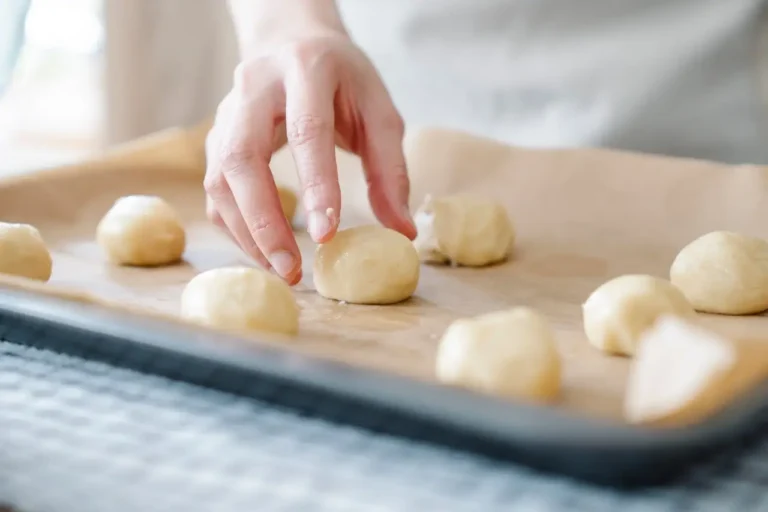
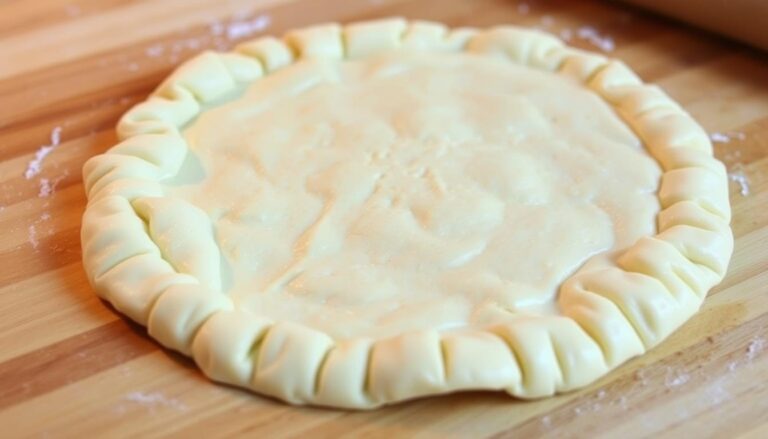
Step 7: Shape with tension
Turn the dough onto a lightly floured surface. Pre-shape into a loose round and rest 10 minutes.
Final shape into a taut boule or batard by tucking edges under and rolling to create surface tension.
Step 8: Proofread smart, not long
Place seam-side up in a floured banneton or towel-lined bowl. Proof 45–60 minutes.
Use a poke test. If an indentation springs back slowly and not fully, it’s ready to bake.
Step 9: Steam and score
Preheat oven to 450°F/232°C with a Dutch oven, steel, or stone inside. Score 1/2 inch deep with a sharp blade.
Steam aids oven spring. A covered Dutch oven naturally traps steam for a dramatic lift.
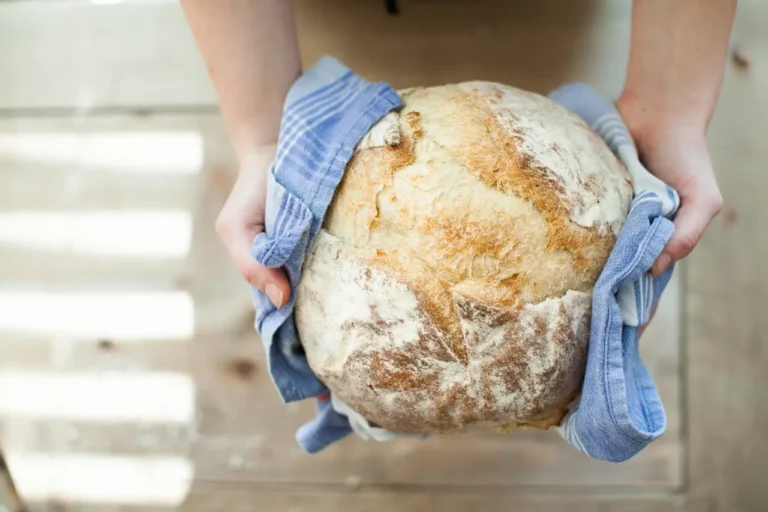
Step 10: Bake, cool, and listen
Bake 20 minutes covered, then 10–15 minutes uncovered until deep golden-b
Conclusion: Your Journey to Perfect Dough
You now have the ten professional dough-making tips needed to transform your baking from hit-or-miss to consistently excellent. The journey to the perfect dough is one of patience and observation. It’s about building a relationship with the ingredients—listening to the dough as it stiffens during kneading, and watching its elasticity grow during proofing.
Start with the simplest recipes, trust the science behind yeast and gluten, and pay attention to how your dough feels in your hands. Mastering dough is the foundation of baking; once you achieve that perfectly elastic, smooth dough, a whole world of bread, pizza, and pastries opens up to you. Now that you’re armed with these fundamental secrets, it’s time to preheat that oven. Happy baking!
Next Step: What is the first recipe you plan to try with your perfectly risen dough? Share your plans and any dough-related questions in the comments below—we’d love to help you along your baking journey!
There are no reviews yet. Be the first one to write one.