Pizza Peel 101: Everything You Need to Know
You’re One Tool Away from Pizza Greatness
Remember the last time you slid your homemade pizza straight into a baking tray—and it became a soggy, misshapen mess? You’re not alone. Swapping that tray for a pizza peel changes the game. Whether you’re using a pizza stone, steel, or wood-fired oven, a pizza peel gives you confidence, control, and a crispier crust you can be proud of.
What Is a Pizza Peel, and Why Does It Matter?
A pizza peel is a flat, shovel-like paddle with a handle, used for transferring pizzas in and out of a hot oven. It originated in traditional bakeries and pizzerias, making it easier to work with delicate dough without risking burns or damage.
The Core Benefits
- Safety: Keep your hands away from extreme heat.
- Shape retention: Helps slide pizza smoothly, preserving its round form.
- Even bake: Lets you rotate the pizza mid-bake for consistent cooking.
Types of Pizza Peels – Which One’s Right for You?
Wooden Pizza Peel
- Ideal for launching uncooked pizzas.
- A rough surface reduces sticking.
- Thick edges can make retrieving tricky.
- Needs upkeep—oil regularly to avoid cracking.
Metal Pizza Peel
- Thin edge slides under baked pizza easily.
- Easy to clean, durable.
- Dough can stick unless you dust heavily.
Perforated Pizza Peel
- Metal with holes to reduce flour buildup.
- Helps moisture escape, creating a crisper crust.
- Lightweight, but less stable for heavy toppings.
Quick Comparison:
| Type | Launching Pizza | Retrieving Pizza | Maintenance |
|---|---|---|---|
| Wooden | ✅ Easy | ❌ Bulky, thick | Oiling, hand wash |
| Metal | ⚠️ Needs dusting | ✅ Thin, easy | Dishwasher safe |
| Perforated Metal | ✅ Dust falls off | ✅ Slim, crispier crust | Hand wash |
How to Use Your Pizza Peel Like a Chef
Prep Your Peel
- Dust with flour, cornmeal, or semolina to prevent sticking.
- If using a wooden pizza peel, dust the surface after assembly.
Slide In Like a Pro
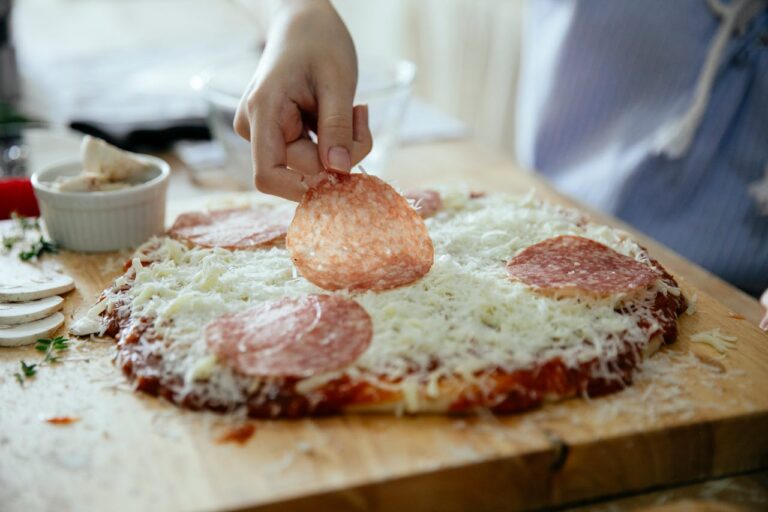
- Assemble your pizza on the peel.
- Shake it gently — it should move freely.
- Quick launch: thrust forward, then pull back to release onto the stone.
Rotate & Remove
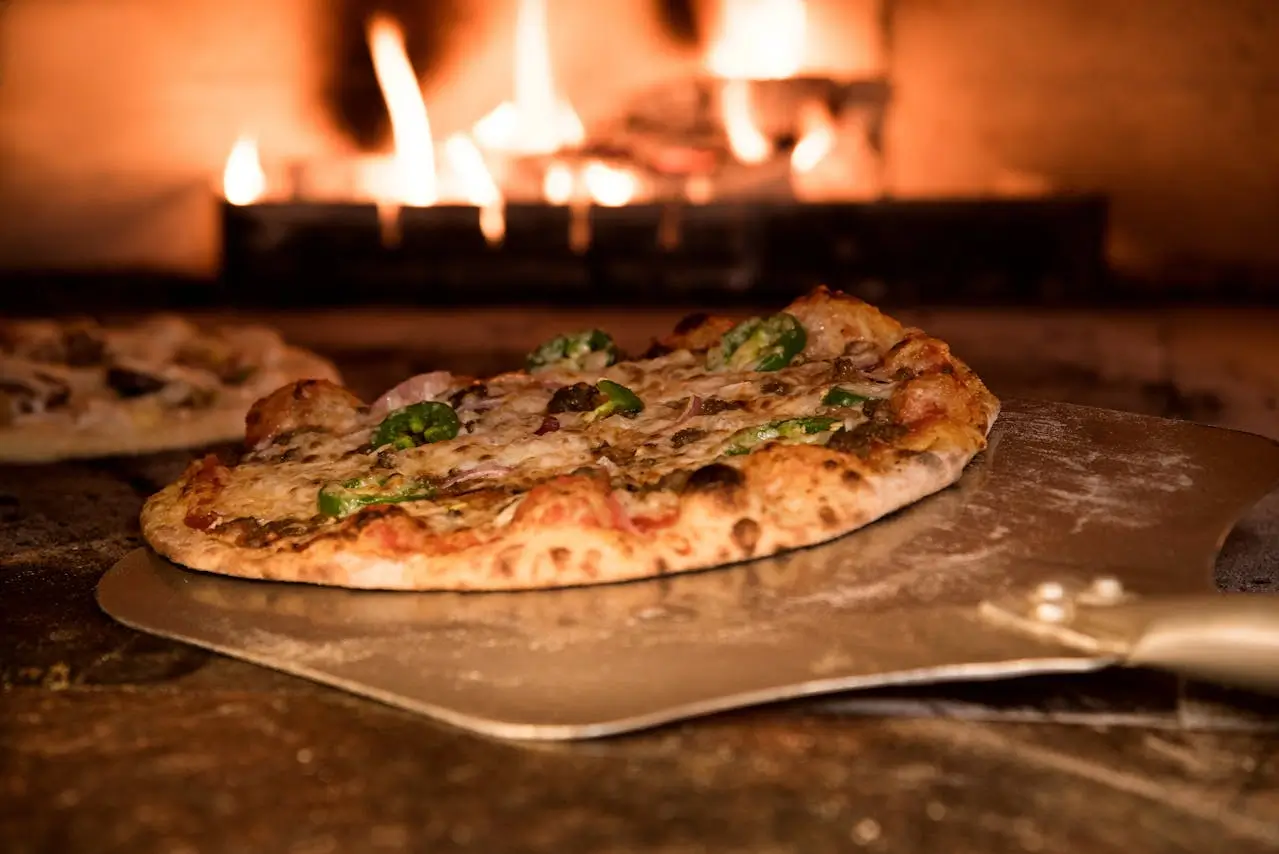
- Mid-bake, rotate with a metal or wooden turning pizza peel for even color.
- Fully baked? Slide under the crust, lift, and transfer it safely.
Common Pitfalls
- Too much flour? It burns, tastes bitter.
- Dough sits too long—sticks! Work quickly.
- Heavy toppings can collapse—less is more.
Choosing the Perfect Pizza Peel
Size & Shape
- Standard peels: ~12–14″ wide for full-size pizzas.
- Smaller peels help turn and rotate mid-bake.
- Handle Length & Grip
- Short handle: fine for home ovens.
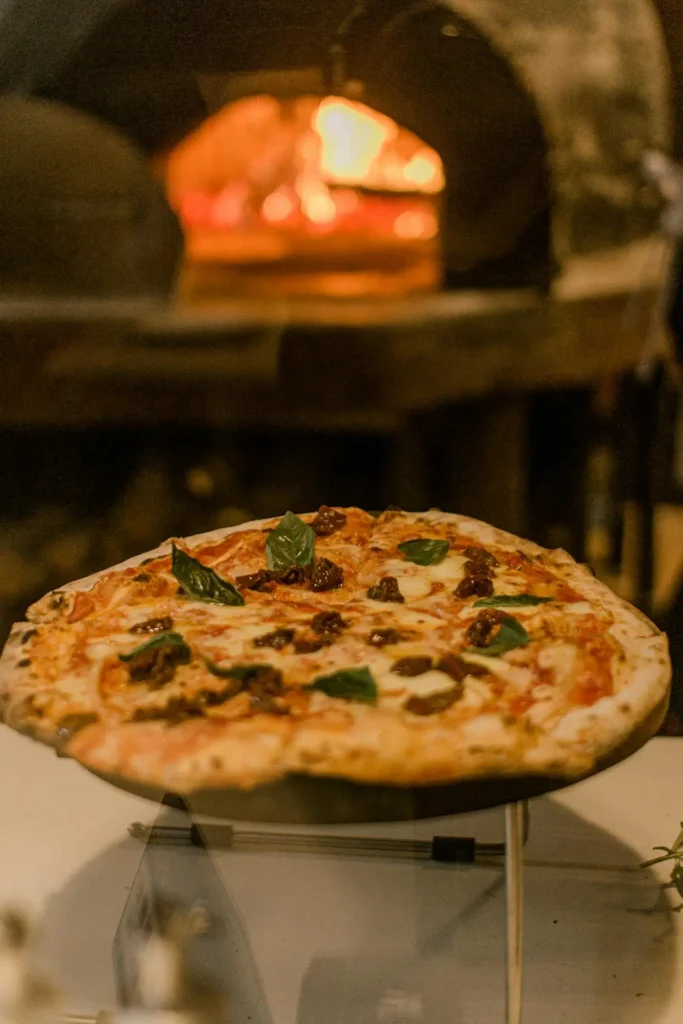
- Long handle: essential for wood-fired ovens.
- Look for ergonomic grips to reduce strain.
Material Preferences
- Wood: classic, less sticky.
- Metal: thin and slick, a breeze to retrieve food.
- Perforated metal: fast sliding, crisp crust.
Brand & Quality Picks
- Ironwood Gourmet Napoli Peel: acacia wood, beveled edge.
- Ooni 14″ Perforated Peel: lightweight aluminum, chef-approved.
- American Metalcraft wood and their aluminum peel are top-rated.
Clean & Care for Your Pizza PeelWooden Peel Care
- Wipe with a damp cloth—never soak.
- Oil monthly with food-safe mineral oil.
- Store dry; warping kills peels.
Metal Peel Care
- Wash with warm, soapy water. Dishwasher-safe doesn’t hurt.
- Dry thoroughly to prevent rust.
FAQ – Your Pizza Peel Questions Answered
Can I use it for other foods?
Yes. Great for breads, calzones, and even pastries.
Why does dough stick?
Too wet + not enough dusting. Use more flour/cornmeal and shake.
Wooden or metal?
If you must pick one, perforated metal is the most versatile.
Do I need two peels?
Pro chefs use two: one wood for launch, one metal for removal.
Recipe Table – Try It Out!
| Ingredient | Amount |
|---|---|
| All-purpose flour | 4 cups (500 g) |
| Warm water | 1⅓ cups (325 ml) |
| Active dry yeast | 1 tsp |
| Salt | 2 tsp |
| Olive oil | 1 tbsp |
Directions:
- Mix water and yeast—sit 5 minutes.
- Add flour, salt, and oil—knead 8–10 minutes.
- Let rise 1–2 hours.
- Dust the pizza peel with flour or semolina.
- Shape dough on your peel, top, and slide into the oven.
Bonus Tips for Pro Results
- Preheat your stone/steel to 500–550°F (260–290 °C).
- Rotate at 5 minutes for even baking.
- Pat the dough dry before topping to reduce moisture.
Final Thoughts
A pizza peel is a simple tool, but it’s one of the most impactful additions you can make to your kitchen if you’re serious about pizza-making. It gives you better control, cleaner launches, safer handling, and crispier crusts. You don’t need every type—start with a perforated metal peel or a pair (wood for launch, metal for pull-out) if you’re ready to level up.
Call to Action
Ready to take your pizza nights from meh to mouthwatering? Start by grabbing a pizza peel that fits your style and oven setup. Then make one pizza this week using the tips above, and notice the difference from the first bite. Drop a comment below or tag me with your pizza peel wins (or fails)—I want to see your homemade pizzas in action!
By incorporating research-backed details and practical user tips, this article helps you use a pizza peel like a pro. Please let me know if you need help adapting it to your blog’s voice or adding visuals.